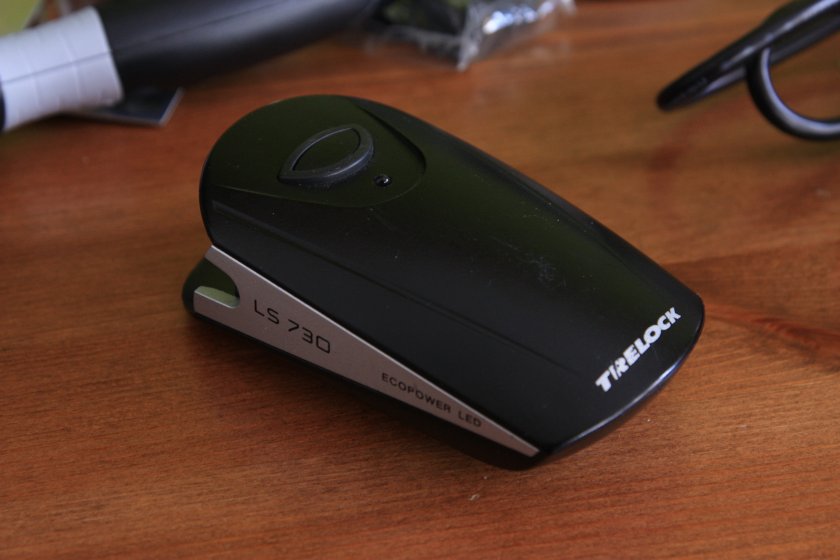
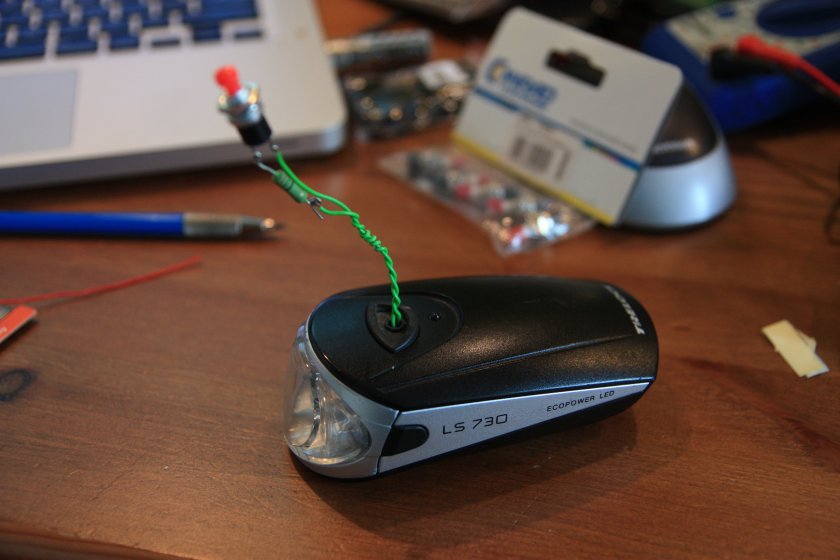
For the past (I don’t know how many) months, my bike light has had a defect that would cause it to shut off whenever I ran over the smallest of obstructions. Cobblestones, curbs, even your standard bumpy path would cause the light to just turn off. It made sensible use of the light impossible. Whoever designed the light didn’t quite get it right, and the inconvenience had me consider sending the light back to the manufacturer. Then winter came, and none of this happened.
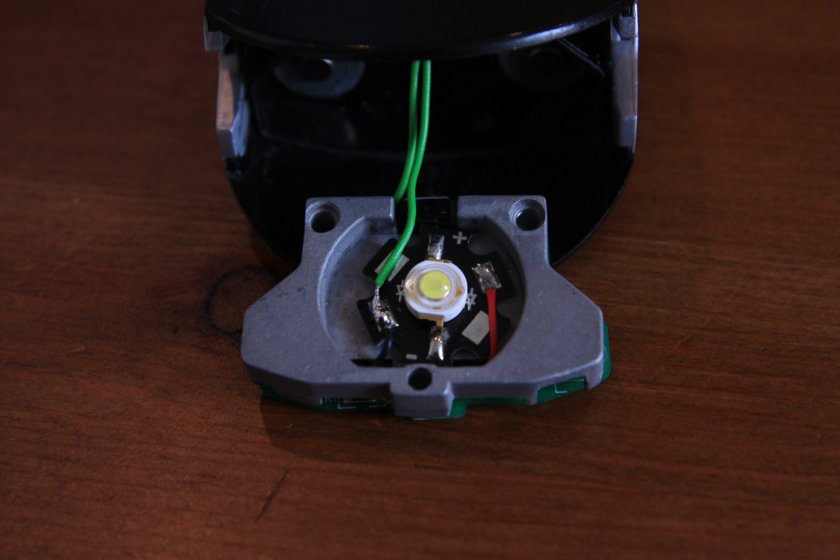
So I sat down on Sunday and yesterday evening to crack open the light and rewire it to skip all of the fancy electronics. I had to get some extra switches from Conrad Electronics, the German chain of hobby shops that carry all manner of tools and components that tinkerers use. Amazingly, I’ve run into at least one of these shops in most of the mid-sized towns I’ve been in: Freiburg has Omega Elektronik, Ulm has Mükra. These places remind me of the old days, when I’d wander around the aisles of the industrial-surplus behemoth known as Mendelson’s. It is a great sign that the society can support these kinds of shops and that enough people still know their way around a soldering bench. And of course, places like Mendelson’s always made me think of the kinds of place one would want to raid for parts, at the end of the world.
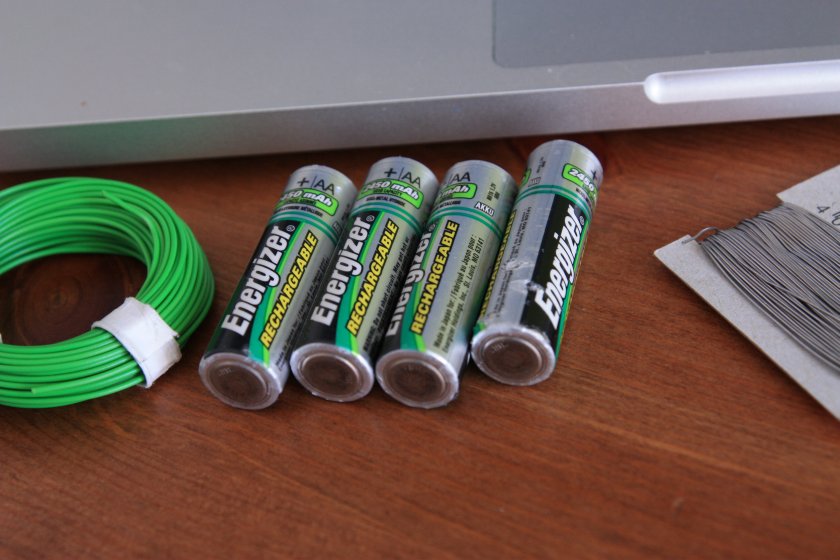
First things first, I did continuity checks to see how the whole thing was being supplied with power. The four batteries are strung in series end to end, providing 6V at 2400mAh. When hooked directly to the LED, with no resistance in series, an ammeter test showed 1A flowing through the circuit, which is crazy high, and would probably burn out the LED pretty quickly. At that rate, the batteries would be dead in little over 2 hours, and that would be driving 6W through the LED, which seems pretty high. It did look pretty damn good though.
Unfortunately, I didn’t have any specs on the LED, so I’m not sure what its nominal current should be. But the numbers I could find indicate a typical 4V forward voltage and 300 – 350mA current for white-light LEDs. So I threw a 10 ohm resistor in line, which dropped the current to around 220mA. 1.3W through the LED seems pretty reasonable, though certainly not as bright. It would be interesting to do a test with a photodiode to see what the light output curve looks like for the applied power.
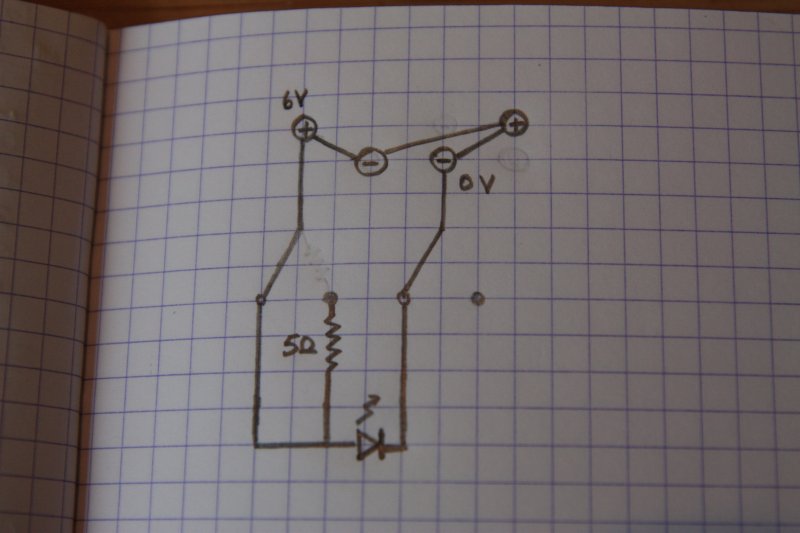
But 6V across a 7 + 10 Ohm load is not good enough either, the LED takes a measured voltage drop of 2.7V, but then the 10 Ohm resistor takes 3.3V, and is then dissipating just as much power as the LED. So I added a small bit of wiring to the light, and reordered the way the batteries were inserted, so that I could get a better 3V, 4800mAh battery pack. The bad thing is that the amperage dropped as well. The LED now draws only 170mA of current, and is noticeably dimmer.
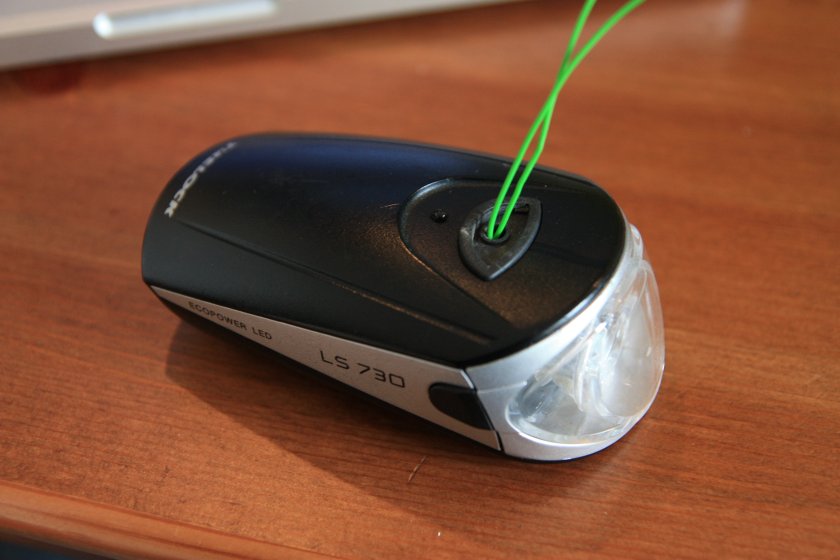
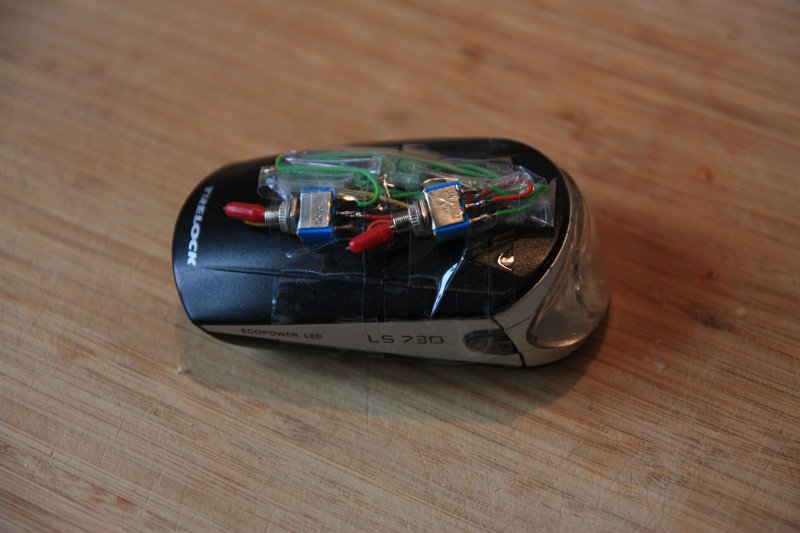
So I changed the circuit again, reverting to the original 6V battery order and adding a second 10 Ohm resistor in parallel, which gives a 7 + 5 Ohm load, which means more of the power is going through the LED, with current measured around 300mA. I added a second switch to control whether the current flows through the resistor at all, meaning that when I really want to burn things out, I can just dump all the current through the LED. It’s like having low and high beams on a car. Problem solved, but man does it look fugly:
